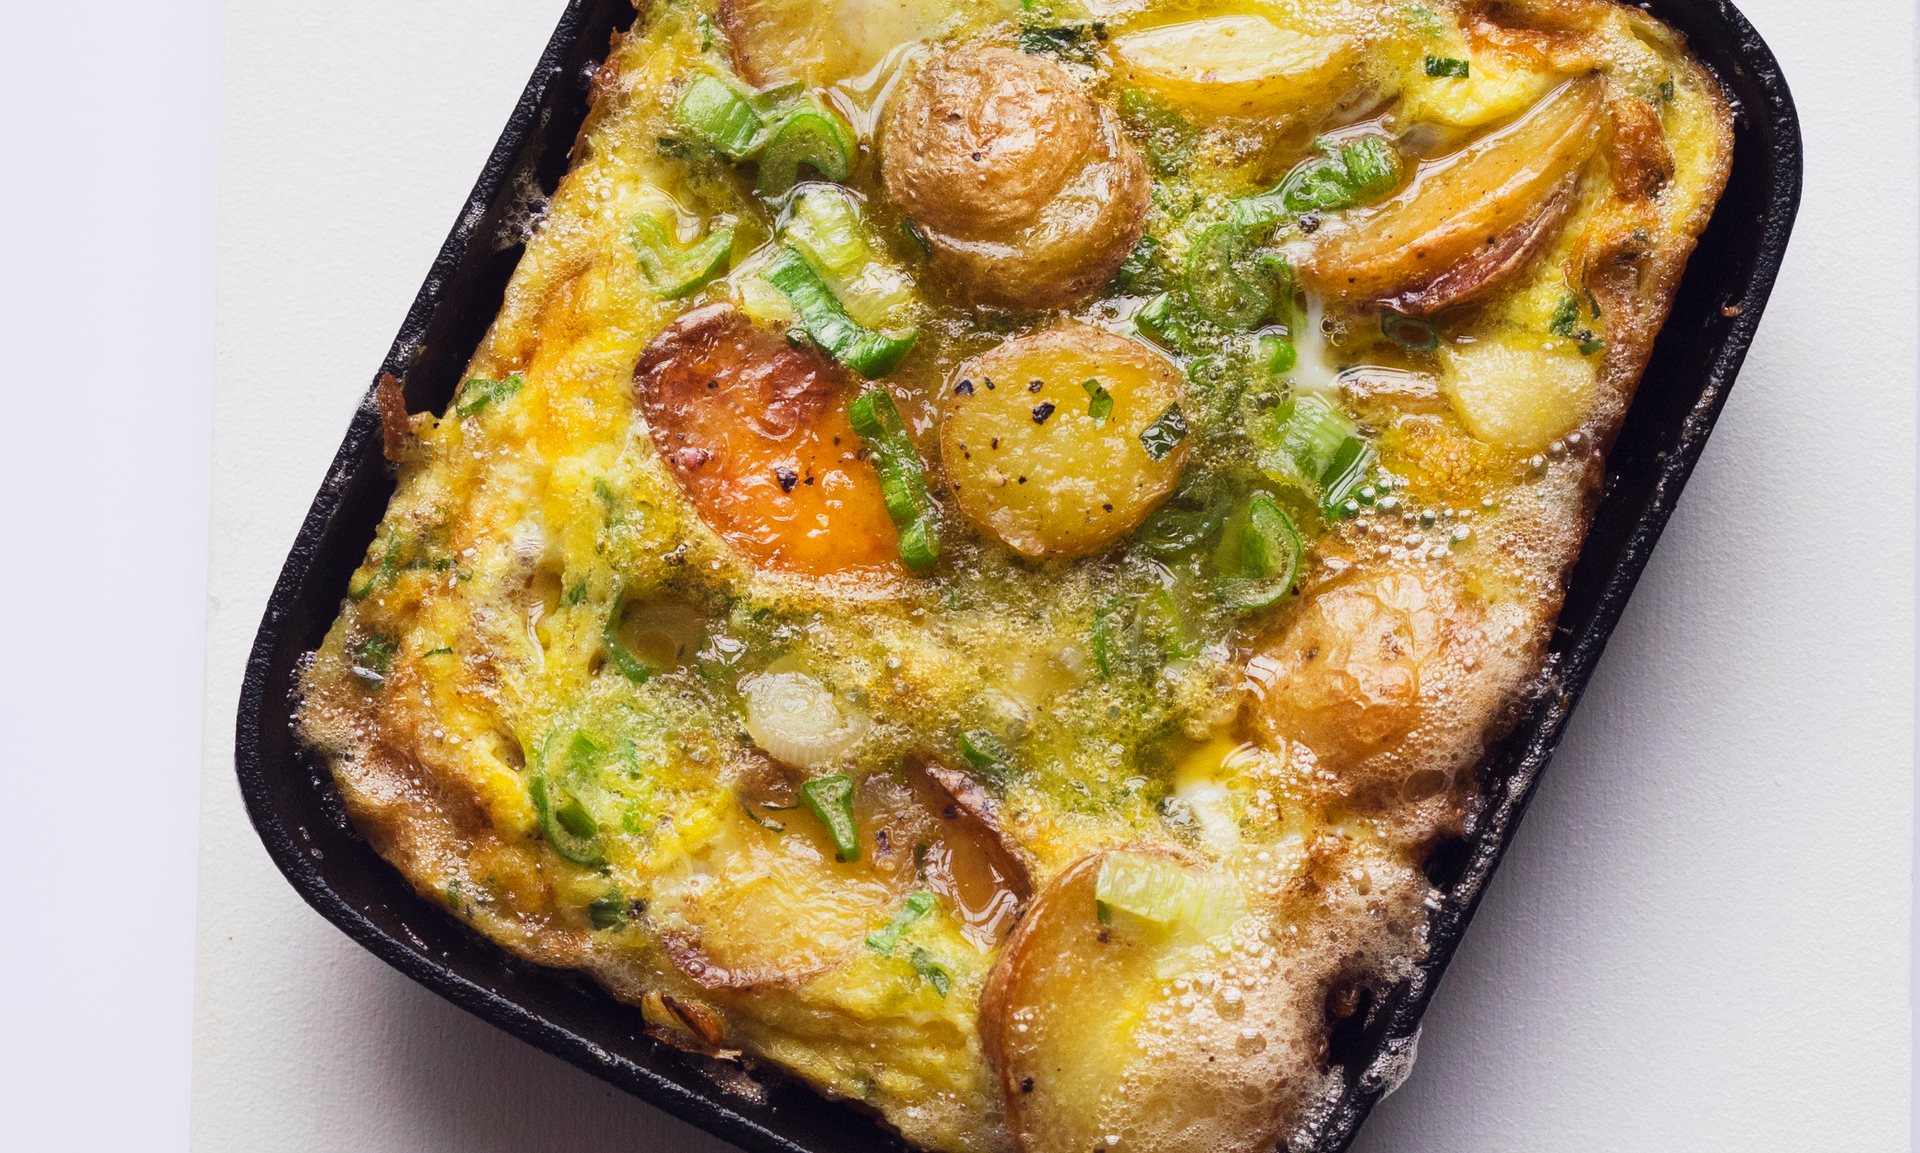
New Potato and Spring Onion Frittata

Source: http://www.theguardian.com/lifeandstyle/2016/mar/22/nigel-slater-new-potato-and-spring-onion-frittata-recipe

Many people generically refer to any small potato as “new,” but there’s a lot more to it than that. New potatoes are those that have been freshly dug and brought to market without curing.

After harvest, most potatoes are stored for up to a couple of weeks to set the peel and heal any nicks or cuts, allowing them to last longer. Without this step, new potatoes are moister and seem sweeter, though with a slight, appealingly minerally bitterness in the finish.

Spring onions look similar to scallions, but you’ll notice that they have small onion bulbs at the base. These onions come from the varietals that produce bulbs and are basically more mature versions of scallions. They are planted as seedlings in the late fall and then harvested the next spring, thus the word “spring” in the name.

Spring onions are sweeter and mellower than regular onions, but the greens are more intense in flavor than scallions. The bulbs can be red or white, depending on the varietal, and while they can be used in much the same way as regular bulb onions, they are great grilled, roasted whole, or used like pearl onions.

The ingreditents

  • 350g (just over 3/4 pound) New Potatoes
  • 4 Tbsp olive oil
  • 3 to 4 spring onions (fresh scallions can substitute)
  • 4 eggs
  • 1 tsp chopped fresh tarragon
  • Salt and Pepper

The recipe
Wash 350g of new potatoes and cut them into thin coins. Each slice should be about 2cm in width. Warm 4 tbsp of olive oil in a nonstick frying pan and fry the potatoes until pale gold on each side. Keep the heat fairly low to give the potatoes a chance to cook through to the middle. If they are browning too quickly, lower the heat and cover with a lid.

Chop the white and most tender green parts of 3 spring onions and add to the potatoes, letting them soften for a few minutes until they are tender.

Turn the oven grill on. Whisk 4 eggs lightly, season with both salt and black pepper and 1 tsp of chopped tarragon. Tip the beaten egg into the pan with the potatoes and onions and leave to cook over a low heat until the eggs have formed a tender crust around the outside. The center will still be almost liquid.

Place the pan under the heated oven grill for 2 or 3 minutes until the eggs have lightly set. Leave for a moment or two to calm down, then slice and serve. Serves 2.

The trick
The texture of your finished frittata will depend on both the time and speed with which it is cooked. Keep the heat quite low so the outside edges don’t cook too quickly.

The twist
You can include any spring vegetable in a frittata – asparagus, lightly steamed, is wonderful. You could also incorporate small mushrooms, and lightly fried or steamed long-stemmed broccoli.

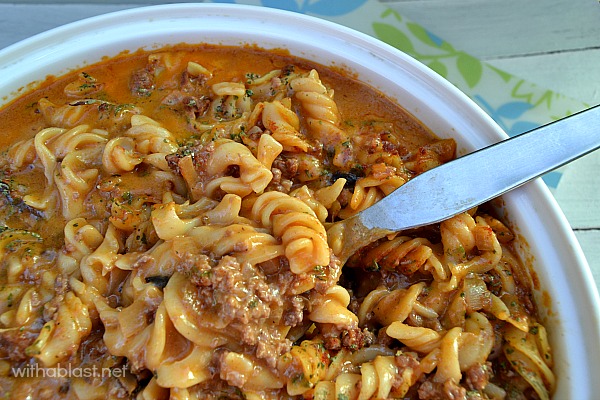
Country Casserole

Source: http://www.withablast.net/2013/09/amish-country-casserole.html

I don’t know why its is Amish Country Casserole, but it looks like GREAT comfort food.

INGREDIENTS:

500g  Pasta  (your favorite)
1 TB Olive Oil
1 Large Onion, chopped
750g Lean Ground Beef
1 can (410g) Tomato Soup**  (see note)
1 can (410g) Mushroom Soup**  (see note)
1 cup Milk
Salt and Black Pepper, to taste
1/2 t Paprika
1/2 t Dried Parsley

DIRECTIONS:

1.) Pre-heat the oven to 180 deg C (350 deg F) – spray a large oven dish with cooking spray.
2.) Cook the Pasta, in a large pot, as per the instructions on the packet.
3.) Meanwhile, saute the Onion in the Olive Oil until soft – add the Ground Beef and cook until done.
4.) As soon as the Pasta is done – drain and return to the pot.
5.) Add the cooked Meat, Tomato & Mushroom Soups and Milk to the Pasta – stir through – season to taste with Salt & Pepper.
6.) Transfer to the prepared oven dish – sprinkle with Paprika and Parsley – bake 25 – 30 minutes.
Serve with a salad or a side dish.

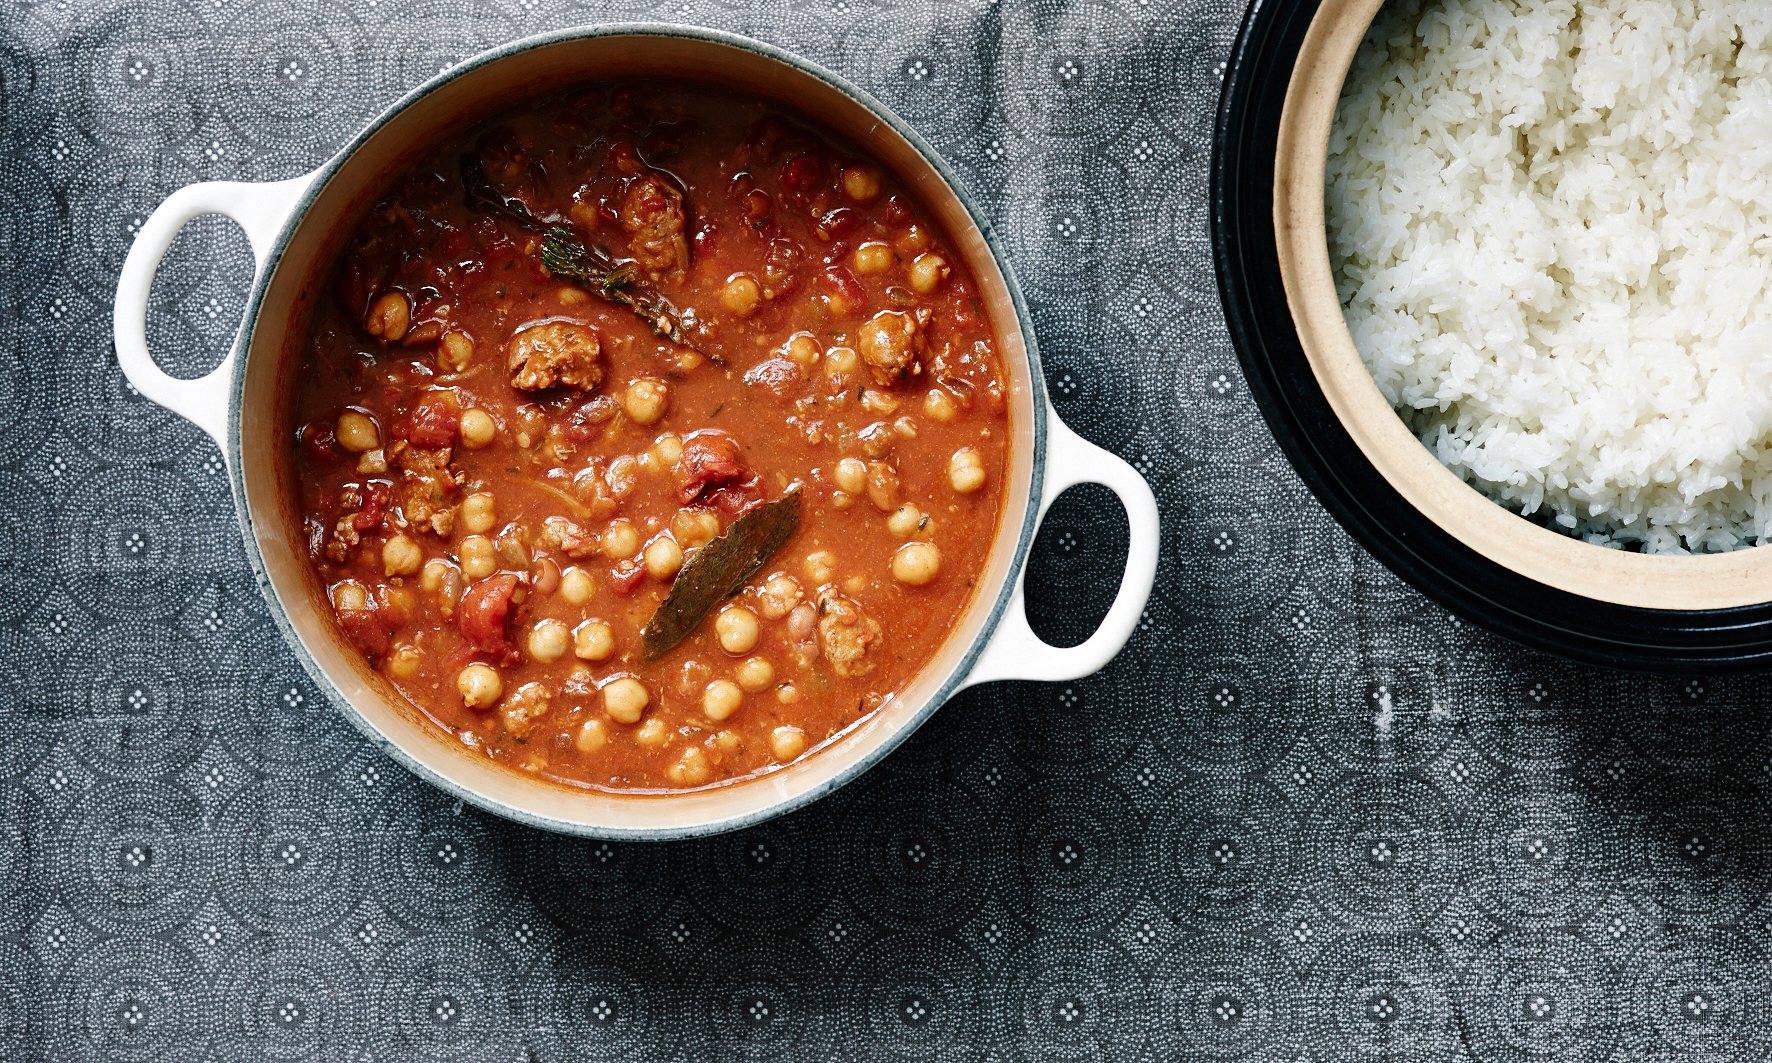
Braised chickpeas and chorizo with tomatoes

Source: http://www.theguardian.com/lifeandstyle/2016/apr/09/chickpeas-readers-recipe-swap-dale-berning-sawa

Serves 4

1 red onion, finely chopped
1 tbsp olive oil
150g chorizo, roughly chopped
2 garlic cloves, finely chopped
2 tsp smoked paprika
400g tin plum tomatoes, roughly chopped
400g tin chickpeas, drained and rinsed
300ml vegetable or chicken stock
A splash of red wine
1 bay leaf
2 sprigs of fresh thyme
Salt and black pepper
Fresh parsley, chopped, to serve

  1. In a large, heavy-based, lidded saucepan, gently fry the onions in the oil until just soft – about 10 minutes.
  2. Add the chorizo and garlic. Continue to fry gently. The chorizo should start to exude some of its paprika spice and the oil will start to change to a rust colour.
  3. Add the smoked paprika and give the mixture a quick stir. Cook for 1 minute.
  4. Add the tomatoes and chickpeas. Stir to coat and cook for 1 minute before adding the stock and red wine. Bring to the boil, and then reduce to a simmer before adding the bay leaf and fresh thyme. Simmer for about 20 minutes. You may need to add more stock, although if it looks as if the stew is too liquid, you may need to boil some of this off.
  5. Season to taste and sprinkle with parsley before serving.

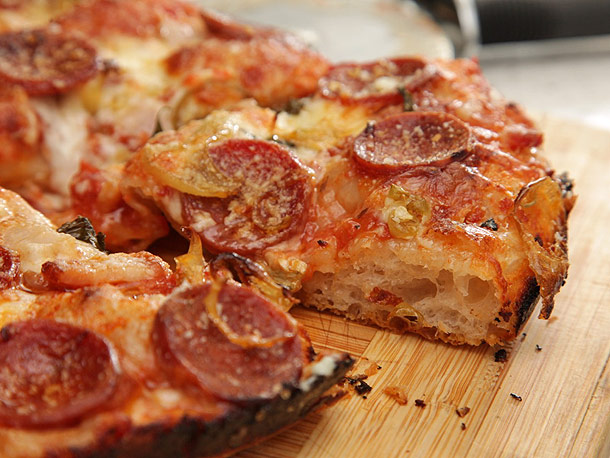
Easy Pan Pizza

Source:
http://slice.seriouseats.com/archives/2013/01/the-pizza-lab-the-worlds-easiest-pizza-no-knead-no-stretch-pan-pizza.html

The Short Story …

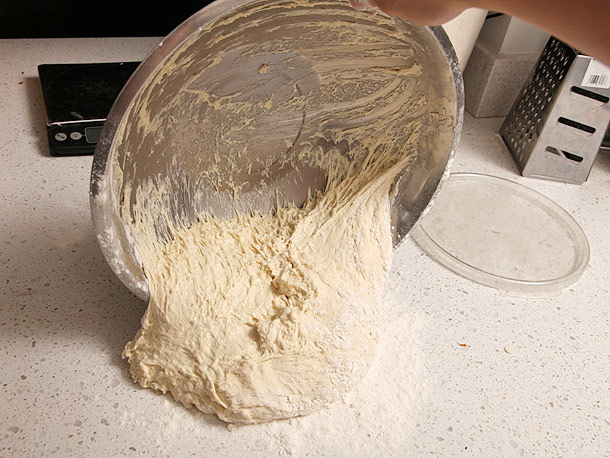
Use no-knead dough

Use your favorite no-knead pizza dough recipe, like this one.

Use a Pan

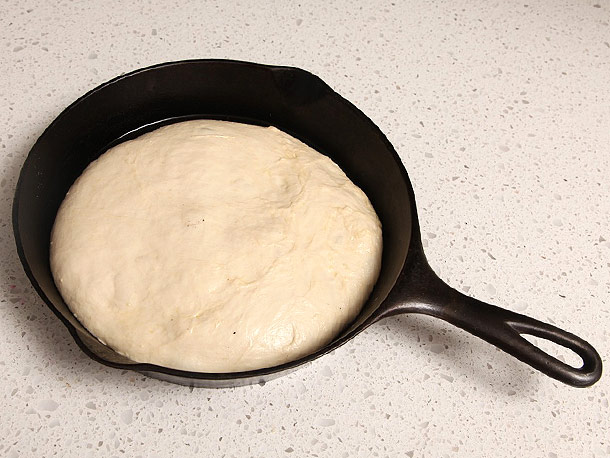
This should be obvious, it is called “pan pizza” for a reason. Cook your pizza in a pan, … with sides. The pan should also be the right size, or more accurately use enough dough to cover the bottom of the pan. The dough must touch the sides of the pan or you will not get the crispy edges you want from a pan pizza. You should rise the dough in the pan and use plenty of oils or grease. The extra lubrication allows the dough to spread evenly in the pan. When done correctly you will not even need to stretch the dough to fit. Finally before topping the pizza gently dock the dough with your fingers, and release ant obvious large bubbles from within AND UNDER the dough.

Cook HOT

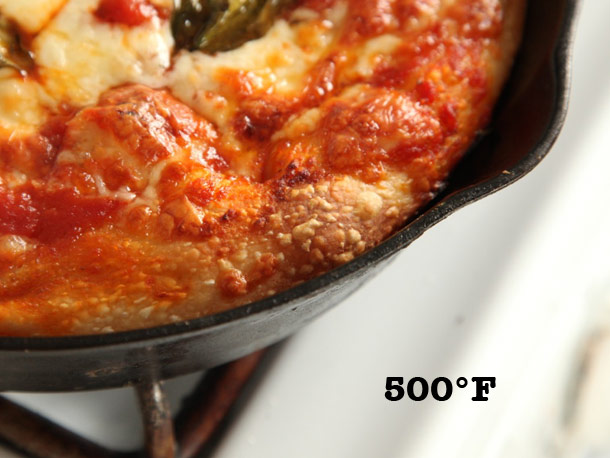
Cooking at high temperature (500-525 degrees) allows the crust to rapidly develop bubbles, creating better internal structure and texture. This also makes docking the dough all the more important.

Toppings

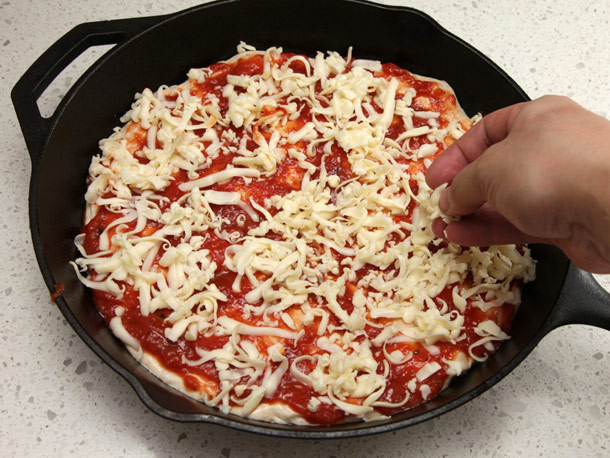
Anything you want. But top the pizza all the way to the edges! You want some of the toppings (cheese especially) to contact the pan sides to get nice and crispy.

The WHOLE Story

Easiest Pizza Dough

This is a variation on the familiar “no-knead” pizza dough recipe.
Source: http://www.seriouseats.com/recipes/2012/03/jim-laheys-no-knead-pizza-dough-recipe.html

  • 3 1/2 cups bread flour
  • 1 1/2 tsp salt
  • 2 tsp un-refined sugar
  • 1 1/4 tsp instant yeast
  • 1 Tbsp EVOO
  • 13oz warm water (~1.5 cups)
  1. In a medium bowl, thoroughly blend the dry ingedients. Add the water and olive oil, with a wooden spoon or your hands, mix thoroughly.
  2. Cover the bowl with plastic wrap or a kitchen towel and allow it to rise at room temperature (about 72°F) for 18 hours or until it has more than doubled. It will take longer in a chilly room and less time in a very warm one.
  3. Flour a work surface and scrape out the dough. Divide it into 4 equal parts and shape them: For each portion, start with the right side of the dough and pull it toward the center; then do the same with the left, then the top, then the bottom. (The order doesn’t actually matter; what you want is four folds.) Shape each portion into a round and turn seam side down. Mold the dough into a neat circular mound. The mounds should not be sticky; if they are, dust with more flour.
  4. If you don’t intend to use the dough right away, wrap the balls individually in plastic and refrigerate for up to 3 days. Return to room temperature by leaving them out on the counter, covered in a damp cloth, for 2 to 3 hours before needed. I have not tested this but you should be able to freeze the dough balls for two weeks or so, thaw as you would frozen bread dough.

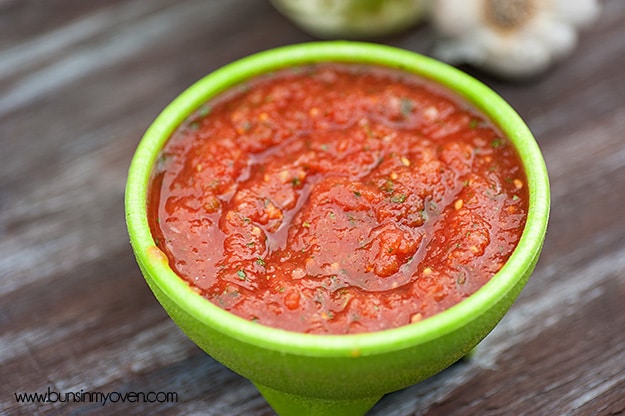
Restaurant Style Salsa

INGREDIENTS:
1 can (15 ounces) whole peeled tomatoes, drained
2 teaspoons diced jalapeno (from a jar, increase/decrease to taste!)
1/2 onion
1 clove garlic
1/2 teaspoon salt
1 teaspoon cumin
2 teaspoons lime juice
handful of cilantro (optional)

DIRECTIONS:
Dump everything into a blender of food processor and process until smooth. Taste and adjust seasonings as needed. One variation of this recipe calls for equal amounts salt and sugar (up to 1/2 teaspoon each), this may be useful if you use fresh tomatoes and find them a little acidic. The salsa will get spicier as the peppers sit, so keeping it a bit more mild than you’d normally like is a good idea! Refrigerate for at least one hour before serving.

Found at:
www.bunsinmyoven.com/2013/06/14/restaurant-style-salsa/
and
sweetlittlekitchen.com/restaurant-style-salsa/